Tuesday, 29 November 2016

Face swap

Marilyn Monroe original photo 

Simon Cowell Original photo

photoshopped.

I got the two images from google, opened them in photoshop. Dragged Simons face onto Marylins. Free transform, made Simons face big enough to go on top, used the eraser to rub out the background, his hair etc. I changed the brush size and the harshness to start blending. I adjusted the eraser opacity and continued to blend. I adjusted the brightness/contrast and the colour balance. 

Tuesday, 22 November 2016

Lomo

Original photo. 

Lomo photo.

First of all I found an image off the internet, I then cropped it, use the lasso tool and selected around the ferris wheel, select, modify and feather. Change to 100 pixels, inverse. Layer, new adjustment layer, levels, change middle box to 0.40. Layer, flatten image. Layer, adjustment layer, curves, adjust curves line. Layer, new, layer, use paint tool in black on image . Drop down, hue, lower opacity. Layer, flatten image. Image, mode, lab colour. Filter, sharpen, unsharp mask change top and bottom box to 50 and 50.0. Image, mode RGB colour. 

Tuesday, 15 November 2016

silhouette

sunset original photo. 

elephant original photo.

photoshopped.

First of all, I deleted the background from the elephants by using the quick selection tool and deleting the elephants, clicking the back space to delete the background. I used the rubber tool to get rid of anything left behind and neaten it up. I used the colour selector tool and the paint brush to fill in any bits which I accidentally rubbed out. I selected the elephants and moved them onto the sunset image. I used free transform and transform to scale the elephants and make them look realistic. 

Tuesday, 8 November 2016

Stencils.

Original image which I took in Bristol. 


Original image of a cat which I used as the stencil.


Stencil on the original photo.

My method of doing this was; to take the photo of the urban environment/walls, then find another image to be the stencil. Open the stencil in photoshop, click images, adjustments, threshold, which simplifies the image and takes all the colour out of it. Then filter, artistic, palette knife, reduce the stroke size and click ok, this makes the stencil look more realistic by changing the edges. Move the stencil onto the original photo, edit, free transform to make the stencil bigger or smaller, transform, distort to make the image look like its really on the wall/floor. Multiply the layers to get rid of the stencils background. 


Tuesday, 4 October 2016

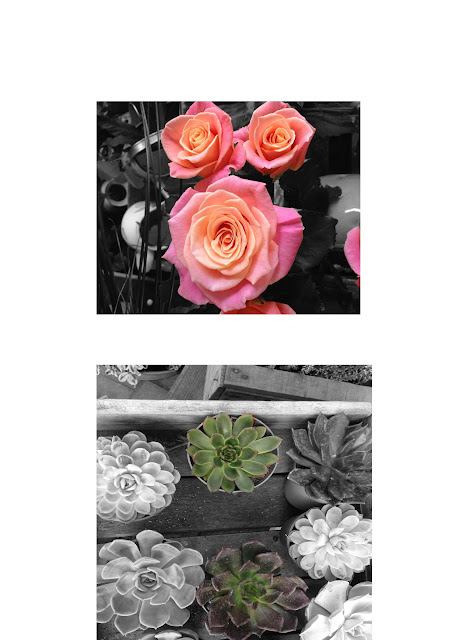
Spot lighting

Photos after editing. 


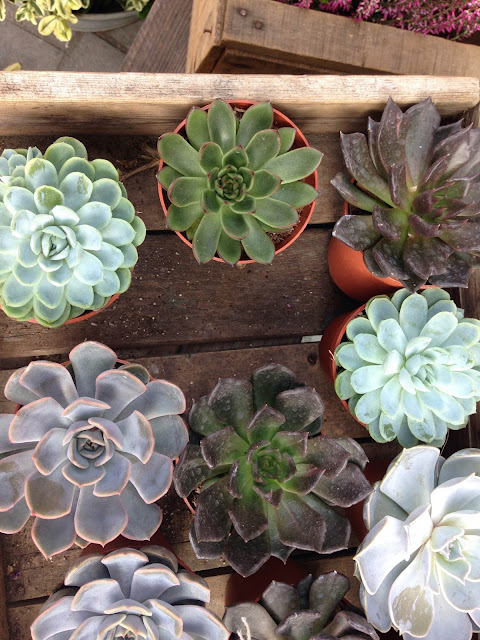
Original photo of Succulents. 


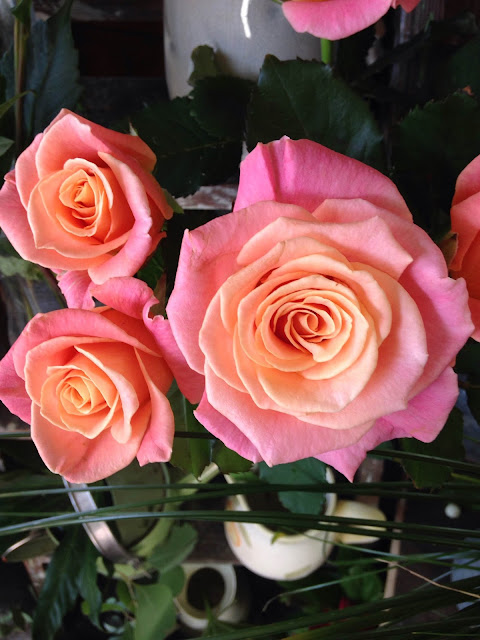
Original photo of roses.

The process I used to spot light these images was to open the image on photoshop, use the small drop down to select duplicate layer, click the image drop down, then adjustments, desaturate to make the image greyscale, select the eraser and use the eraser the make the area of the image you want in colour to be in colour. 

To put the images of a canvas, select file then new, international paper, then A3, select edit, free transform to resize and rotate the images and repeat with the next image. 


Tuesday, 20 September 2016

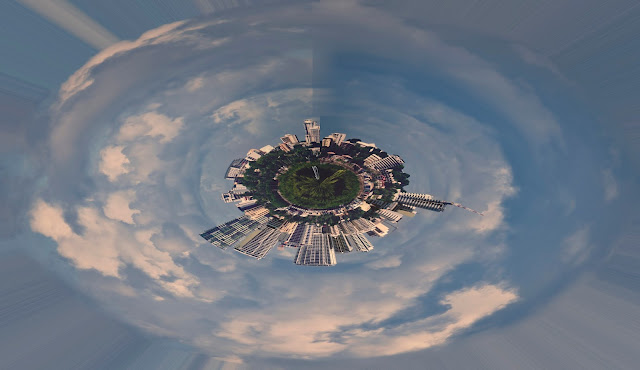
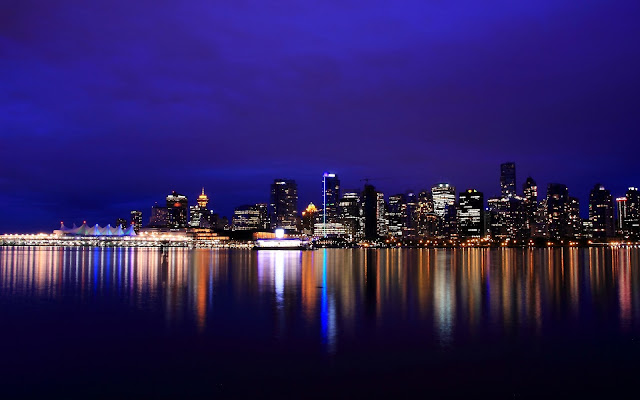
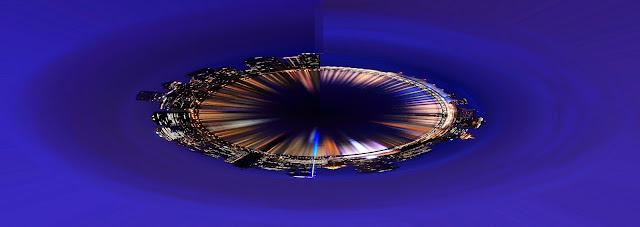
Tiny Planet

Orignial image. 


Distorted image. 

Original image.


Distorted image.


The steps I took to create these images on photoshop were;
I selected the photos from google images, clicked the image size and choose the biggest one, clicked view image and saved the image to my desktop. Secondly, I right clicked and selected open with photoshop, went on the view drop down menu and clicked on fit to screen, then image and changed the height size to 30-40, then I rotated the image by going on the image drop down bar and selecting rotation- 180 degrees, then I selected filter, distort, polar coordinates and then selected the minus button on the pop up, which gave me the distort images. There was an obvious line where the image joined, I used the select tool to highlight the line, then filter, blur, motion blur and moved the arrow on the pop up to blur it.